Frequent and ongoing communication with customers and users is key to the success of any business. That's where tools like Intercom and Zendesk excel by helping companies listen and talk to their customers in a seamless and channel-agnostic manner.
Last year we decided to move all our customer communication to Intercom, and both we and our customers have been extremely happy with the experience and the results so far. However, every now and then our support channels get abused by internet trolls (or extremely-angry-for-no-apparent-reason visitors) who have too much time on their hands and come all the way to our website to try and harass us:
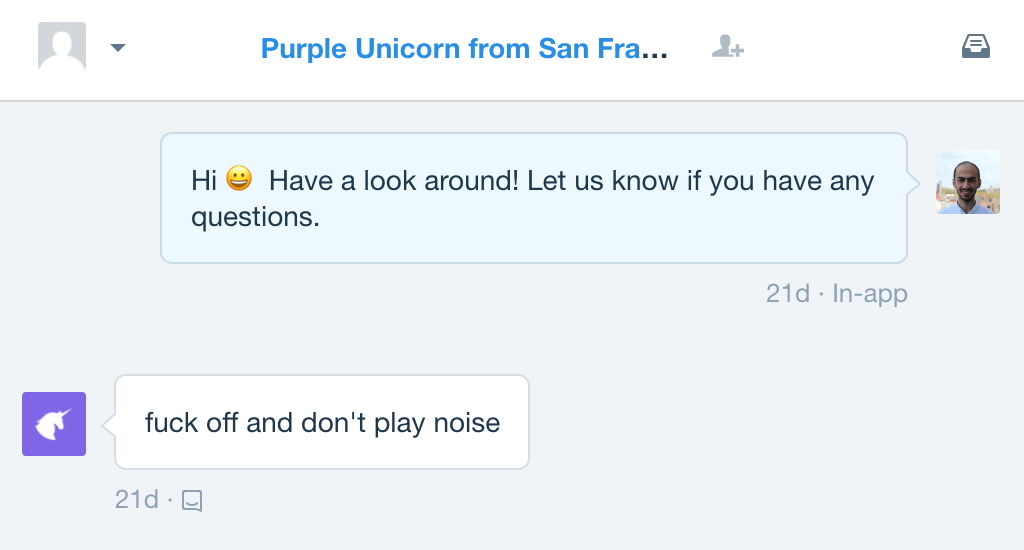
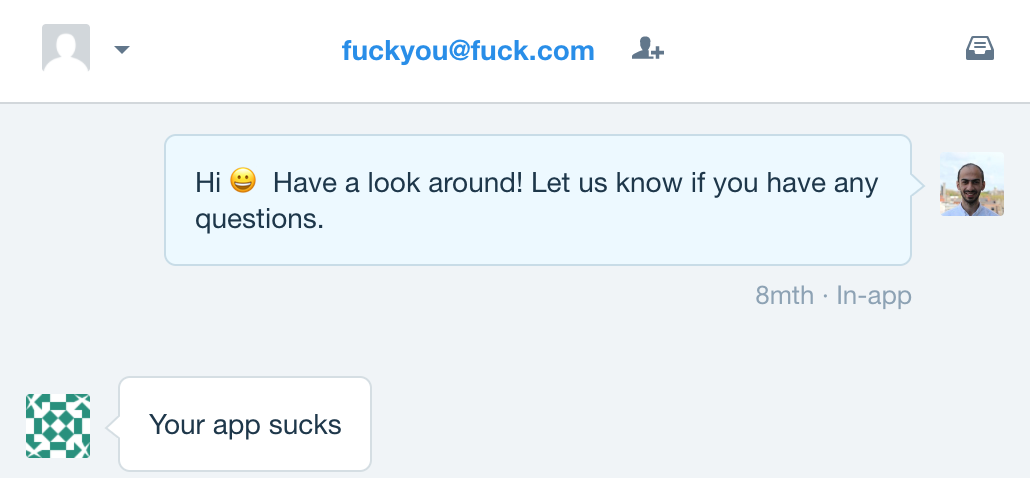
This is not cool, and it's exactly what our support team don't need on a busy Monday morning! (or any other time) So like any responsible CEO, when I saw this, I decided to take action! Here was my plan:
- Build an offensive speech detector that given a message, determines whether it's offensive or not; and
- Use this detector to analyze all incoming messages on Intercom and identify the offensive ones, and then respond to the offenders with a funny random GIF meme.
I spent a few hours during my Christmas break building this. Here's a glimpse of what the end result looks like:

EDIT: we deployed this detector only for the first few weeks after we posted this blog, so if you're reading this message and decide to try it out on our Intercom, your message will reach us now. Instead of a personalized meme, your insults will be met with the hurt feelings of our sales team. Pretty cool, huh? For the rest of this blog I will explain how I went about building this, and how you can build your own Intercom troll police bot in 3 steps:
- Step 1: Train an offensive speech detector model using AYLIEN's Text Analysis Platform (TAP)
- Step 2: Set up a callback mechanism using Intercom's webhooks functionality and AWS Lambda to monitor and analyze incoming messages
- Step 3: Connect all the pieces together and launch the bot
Before proceeding, please make sure you have the following requirements satisfied:
- An active TAP account (TAP is currently in private beta, but you can get 2 months free as a beta user by signing up here)
- An Amazon Web Services (AWS) account
- An Intercom account
Step1. Training an offensive speech detector model
First, we need to find a way to identify offensive messages. This can be framed as a text classification task, where we train a model that for any given message, predicts a label such as "offensive" or "not offensive" based on the contents of the message. It's pretty similar to a spam detector that for each incoming email, tries to determine whether it's spam or not, and classifies it accordingly. We need to train our offensive speech detector model on labeled data that contains examples of both offensive and non-offensive messages. Luckily, there's a great dataset available for this purpose that we can obtain from here and train our model on. Great, so now we have the data to train the model. But how do we actually do it? We're going to use our newest product offering, AYLIEN Text Analysis Platform (TAP) for building this model. TAP allows users to upload their datasets as CSV files, and train custom NLP models for text classification and sentiment analysis tasks from within their browser. These models can then be exposed as APIs, and called from anywhere. Our steps to follow are:
- Uploading the dataset
- Creating training and test data
- Training the model
- Deploying the model
Uploading the dataset
Let's download the labeled_data.csv file from the "hate speech and offensive language" repository linked above, and once downloaded, head to the My Datasets section in TAP to create a new dataset. Create a new dataset by clicking on Create Dataset and then click on Upload CSV:
Select and upload labeled_data.csv, and click on Convert which will take you to the Preview screen:
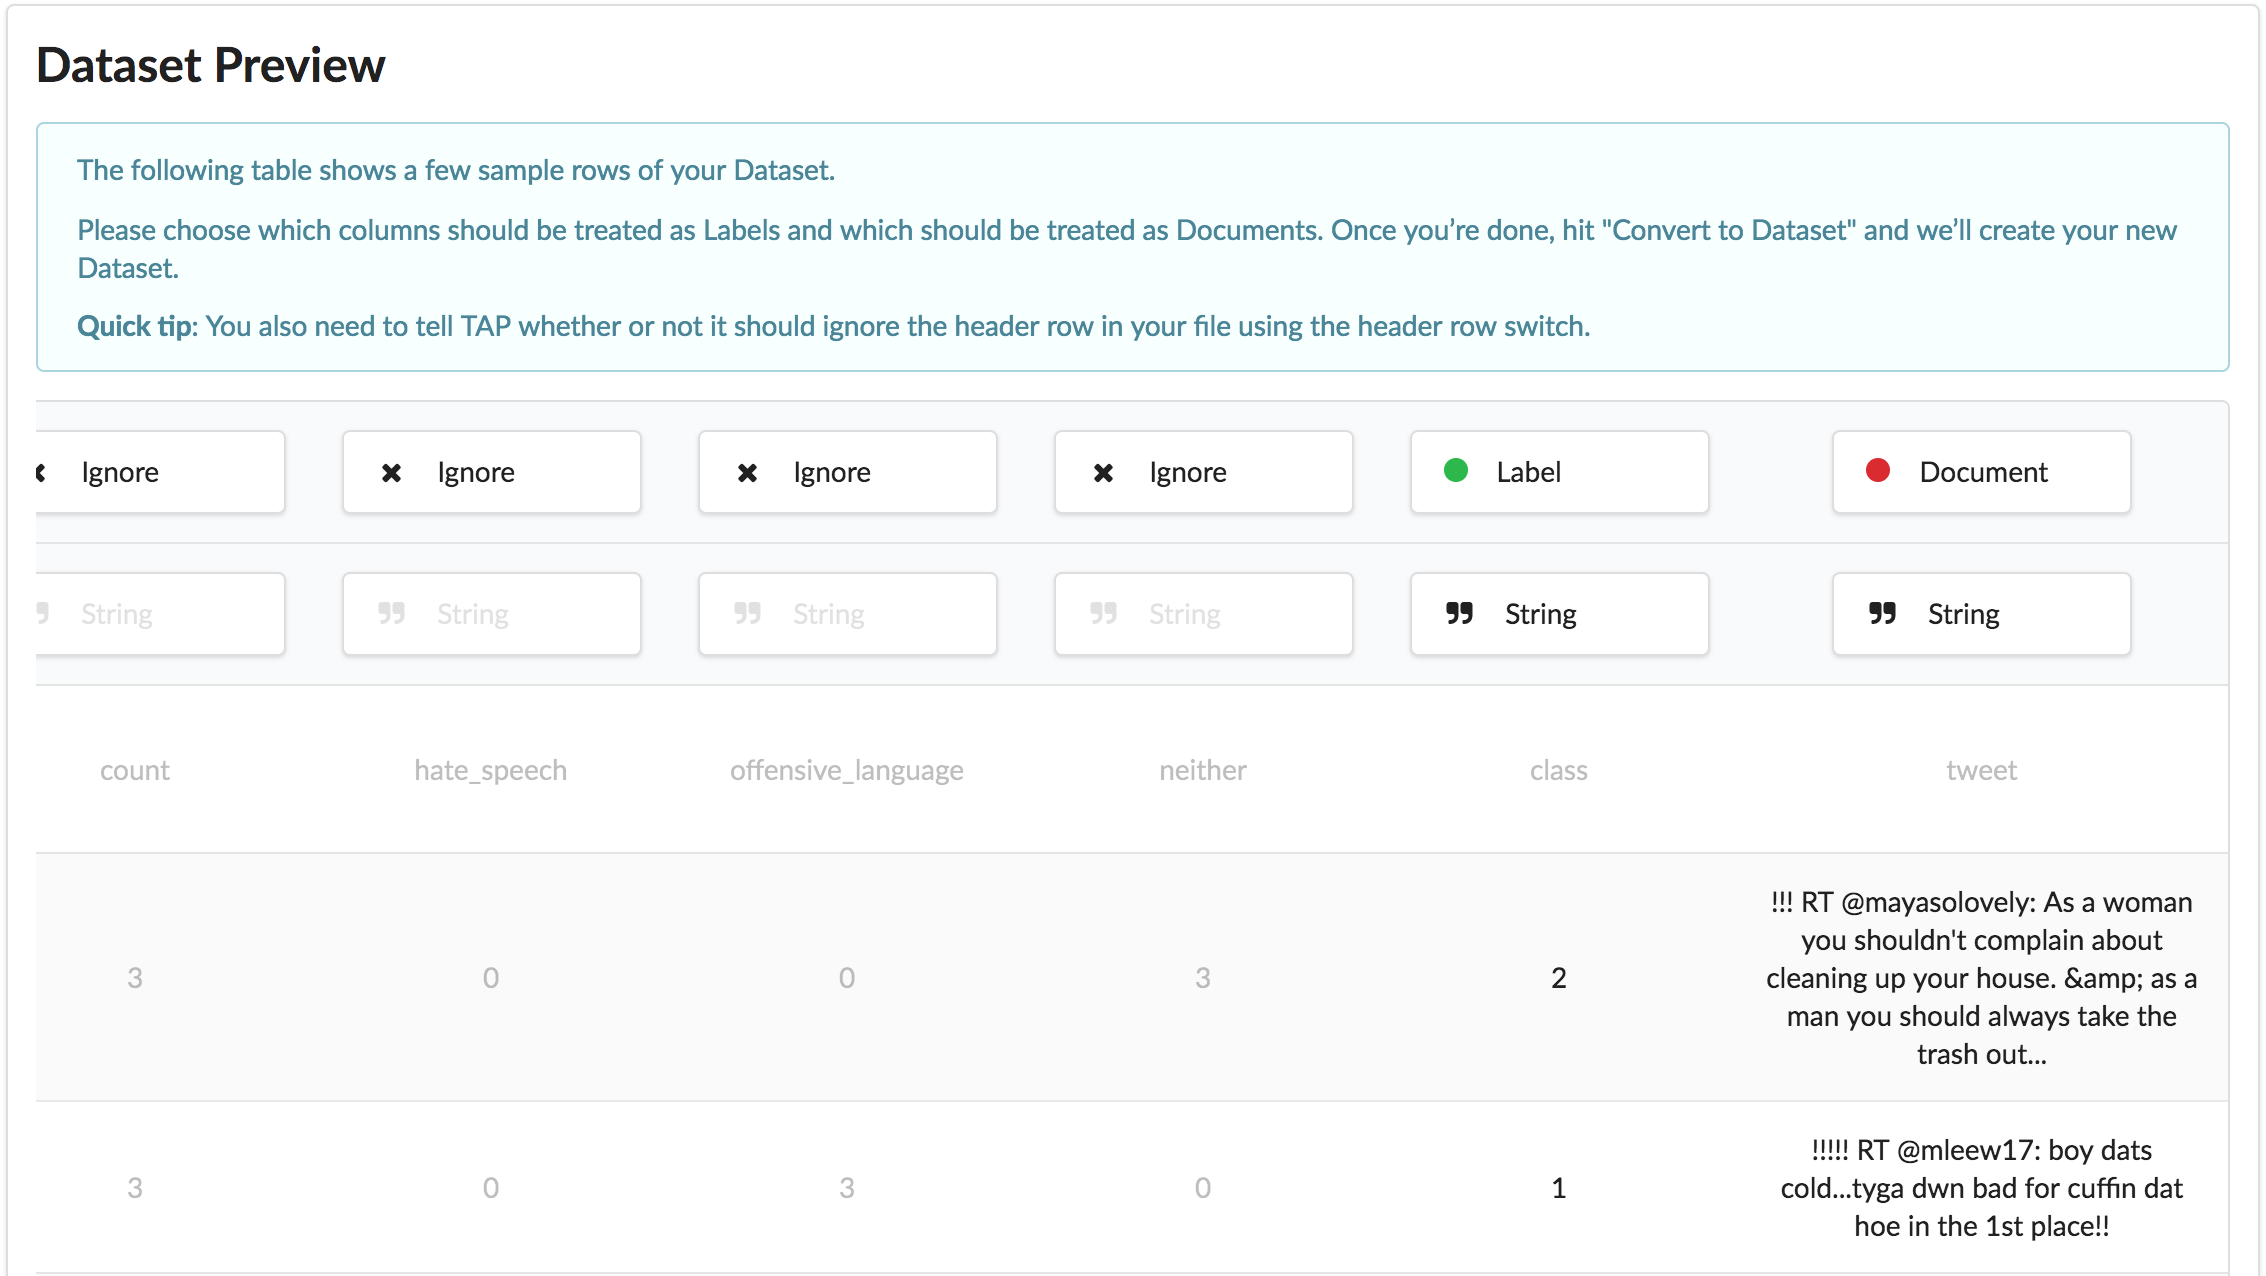
Assign the Document role to the tweet column, and the Label role to the class column, and click on Convert to Dataset in the bottom right corner, to convert the CSV file to a dataset:
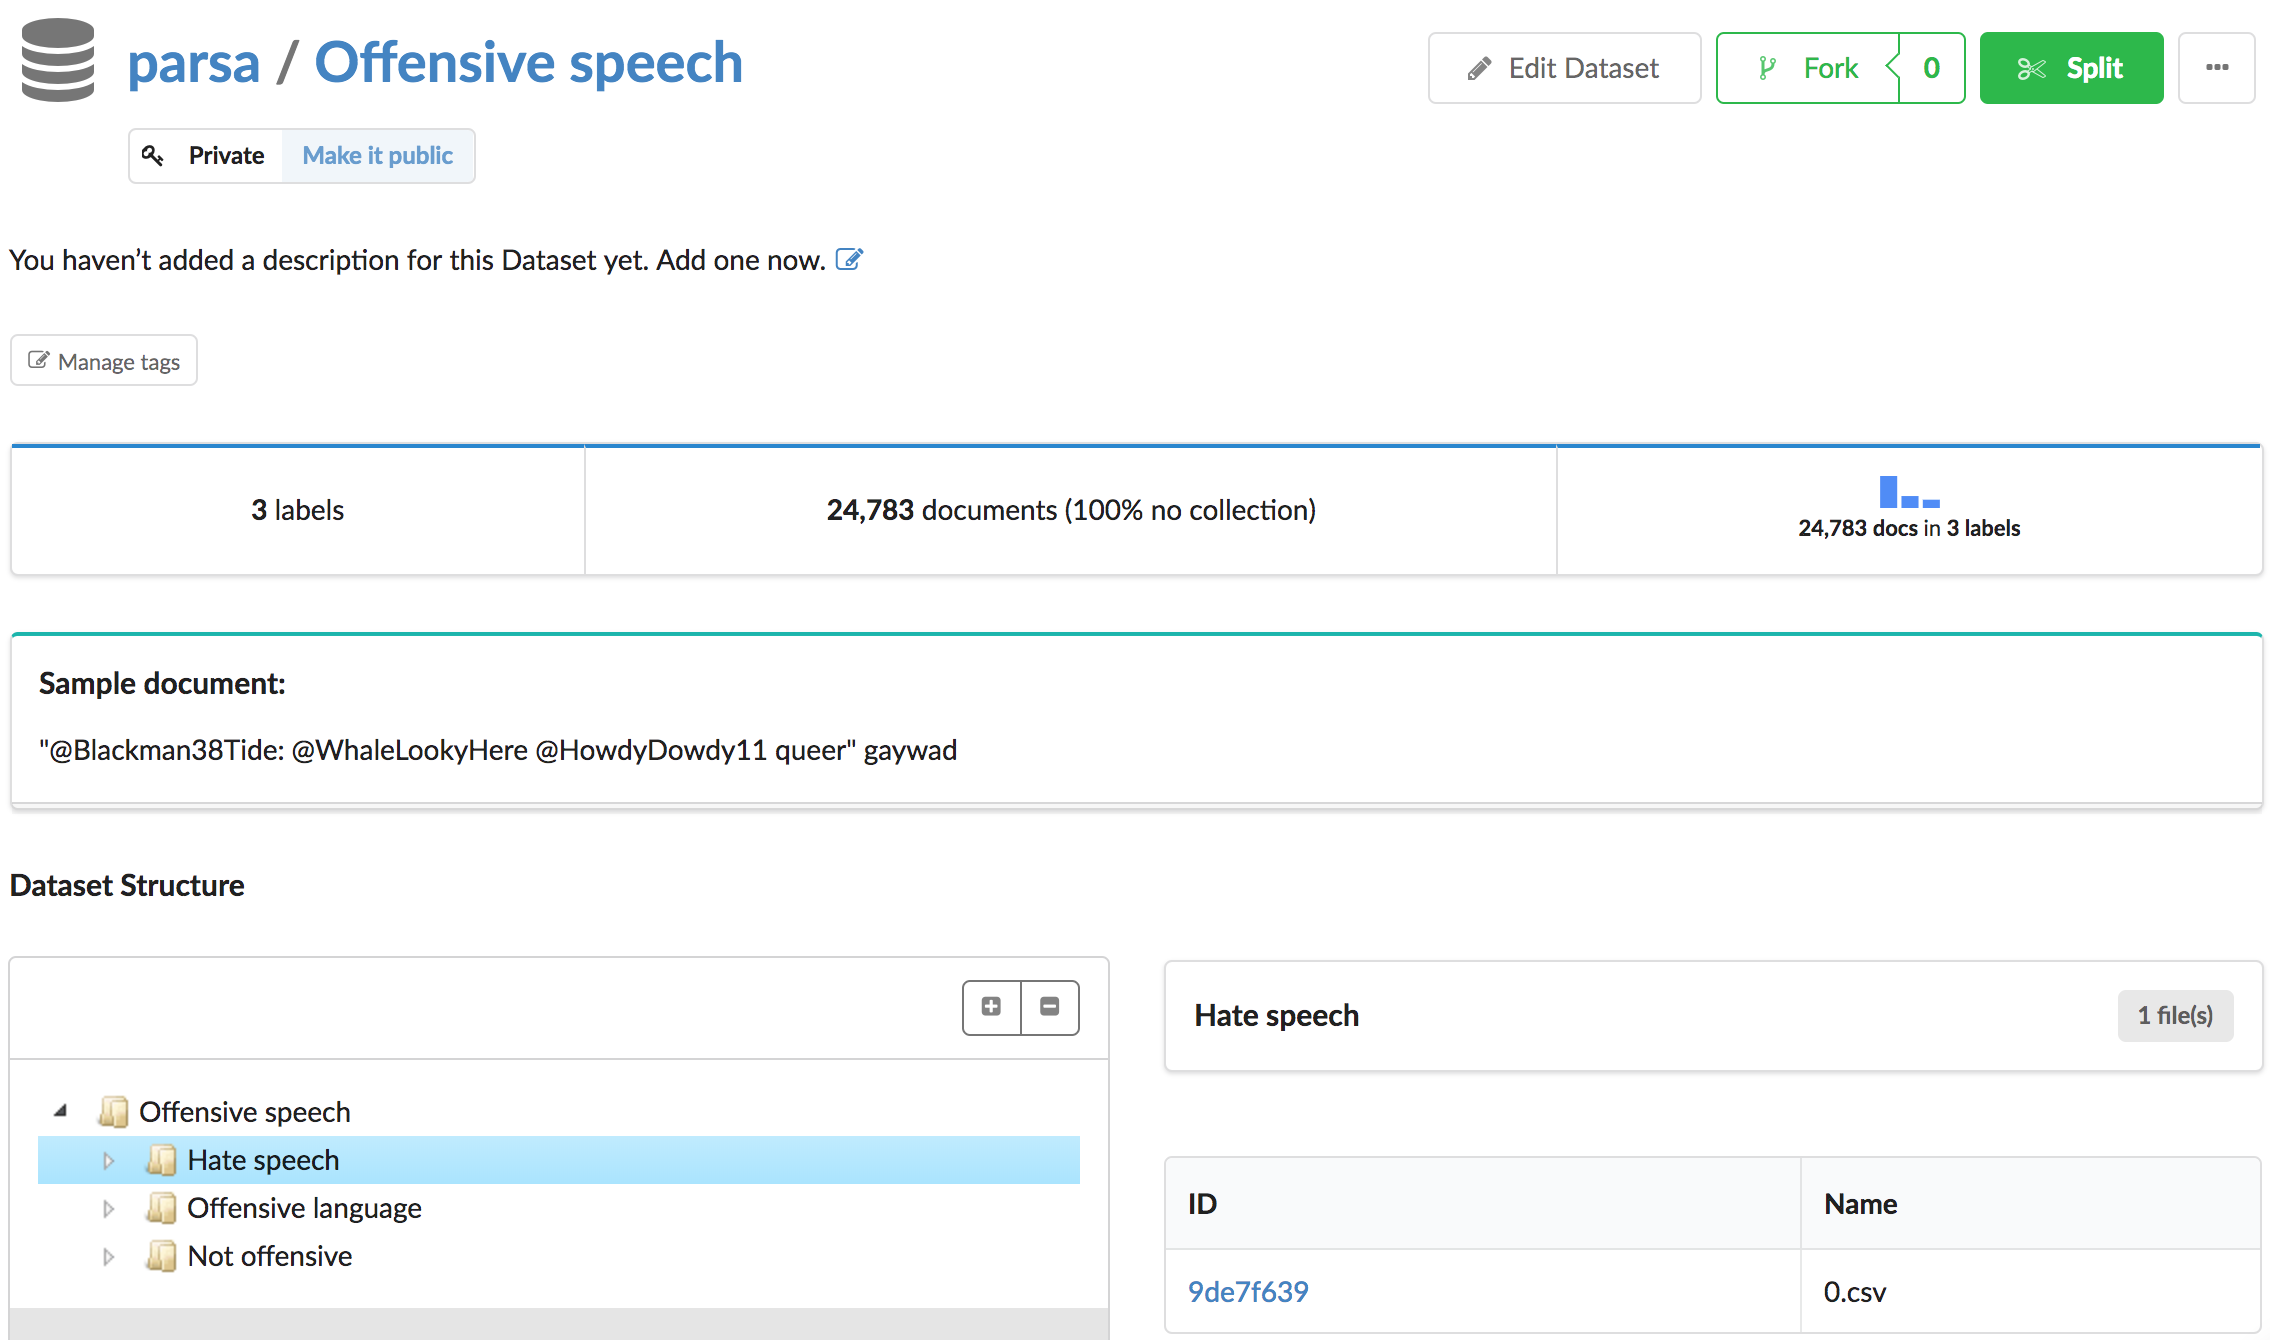
Please note that the original dataset uses numerical values for labels (0-2), which have the following meaning:
- 0 - Hate speech
- 1 - Offensive language
- 2 - Neither
For clarity we have renamed the labels in our dataset to match the above.
Creating training and test data
In the dataset view click on the Split button to split the dataset into training and test collections:
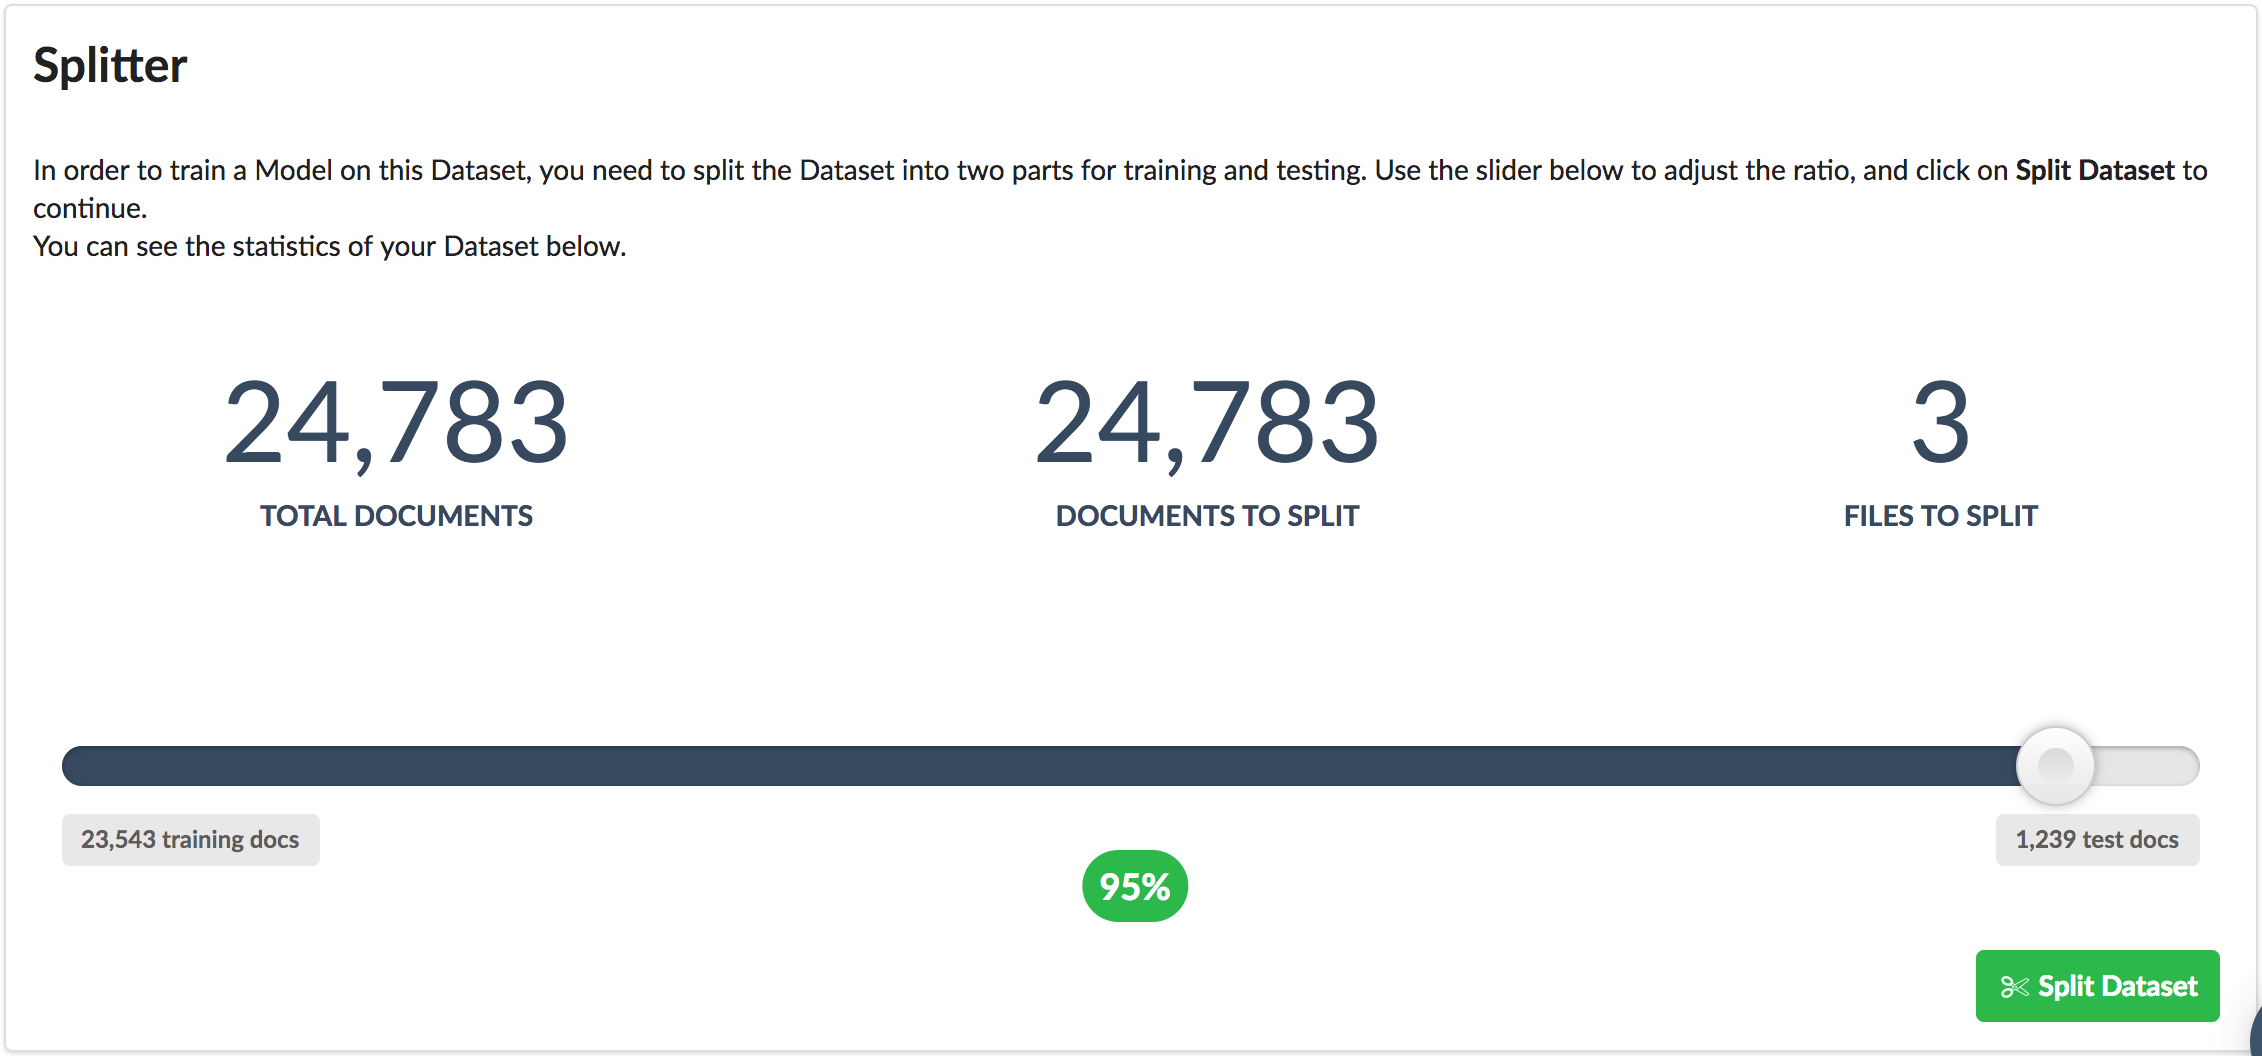
Set the split ratio to 95% and hit Split Dataset to split this dataset. Once the split job is finished, click on the Train button to proceed to training.
Training the model
In the first step of the training process, click to expand the Parameters section, and click to enable "Whether or not to remove default stopwords" to ask the model to ignore common words such as "the" or "it".
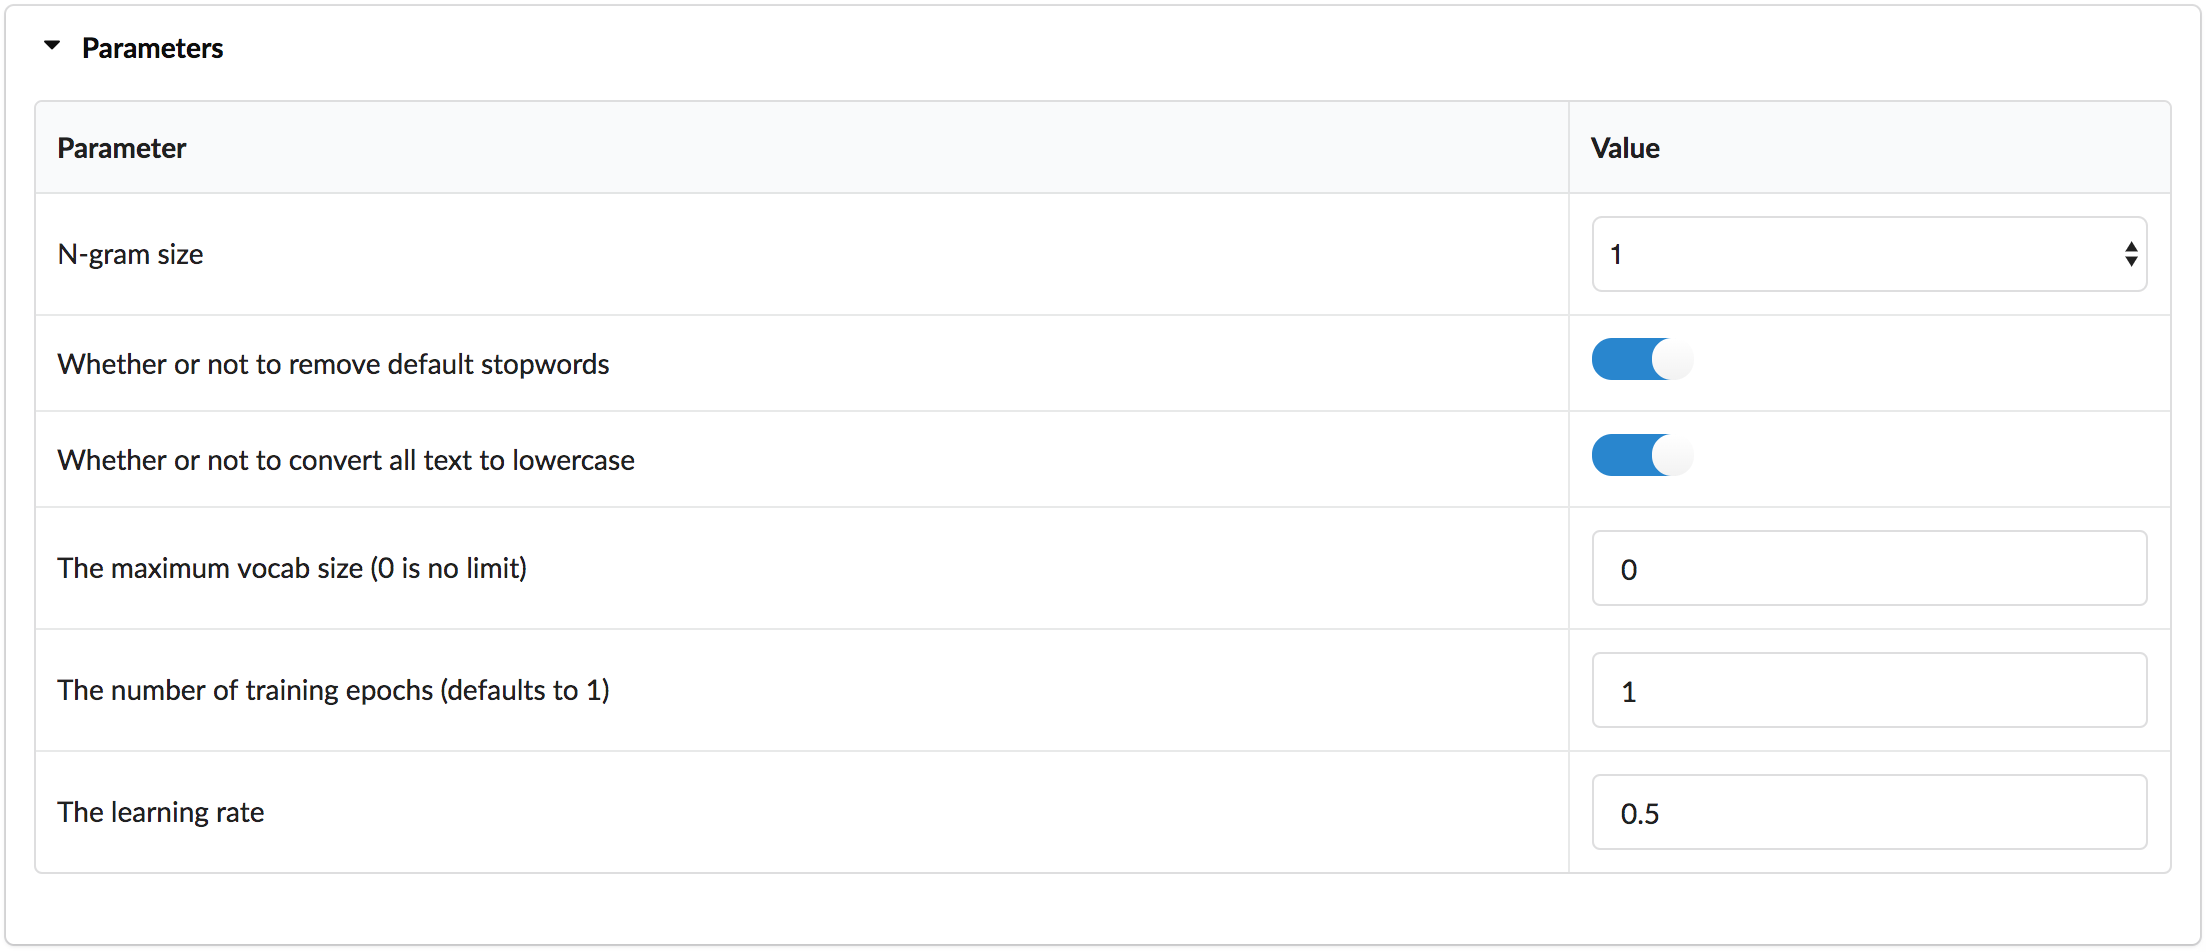
Afterwards click on Next Step to start the training process.
Evaluating the model
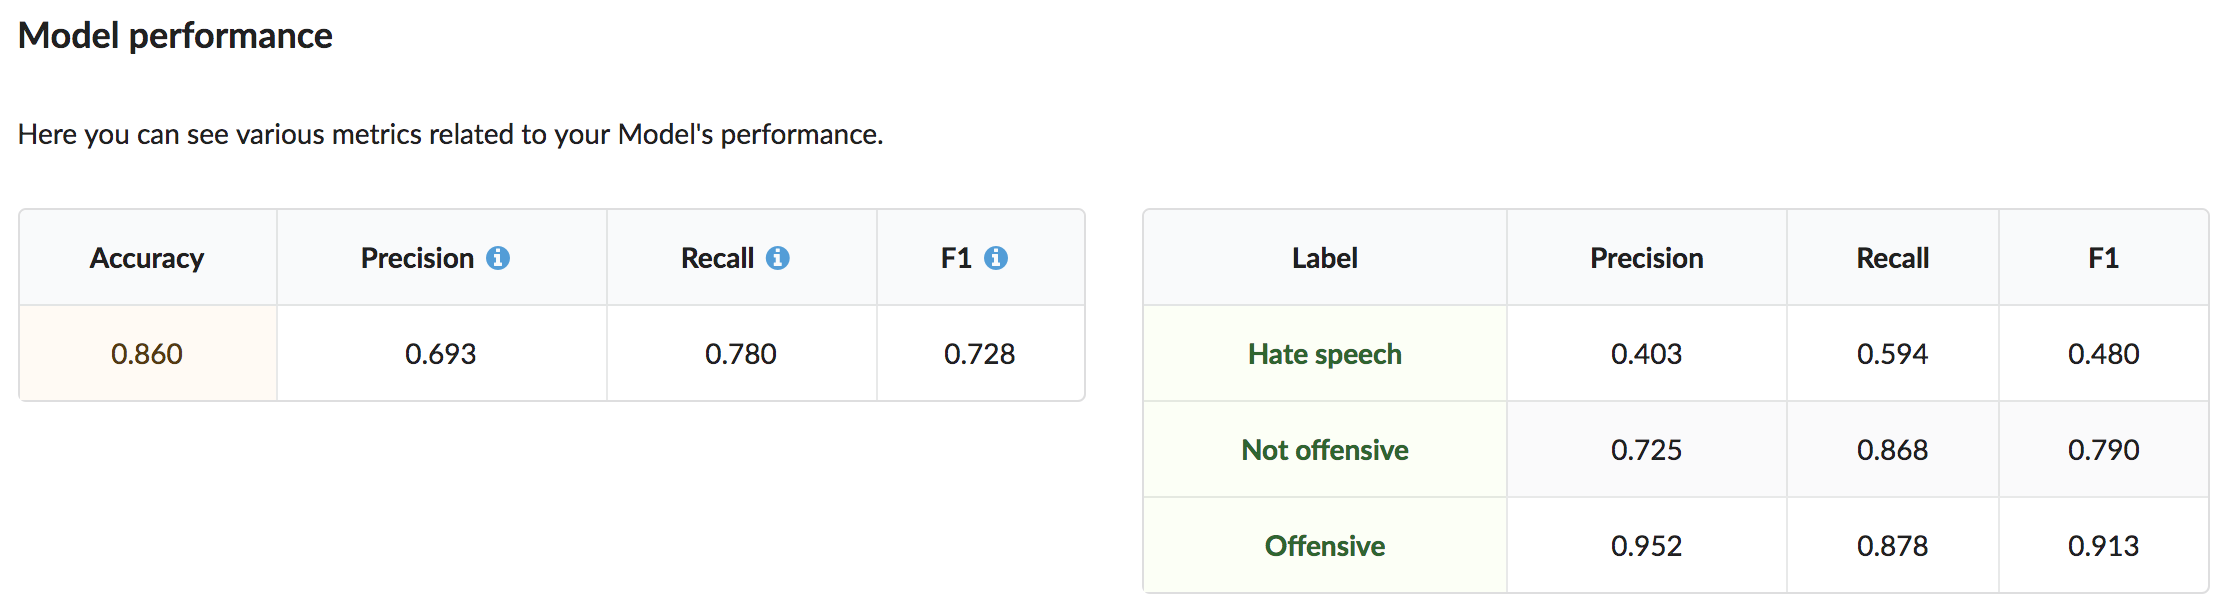
Once the model is trained, we can have a quick look at the evaluation stats to see how well our model is performing on the test data:
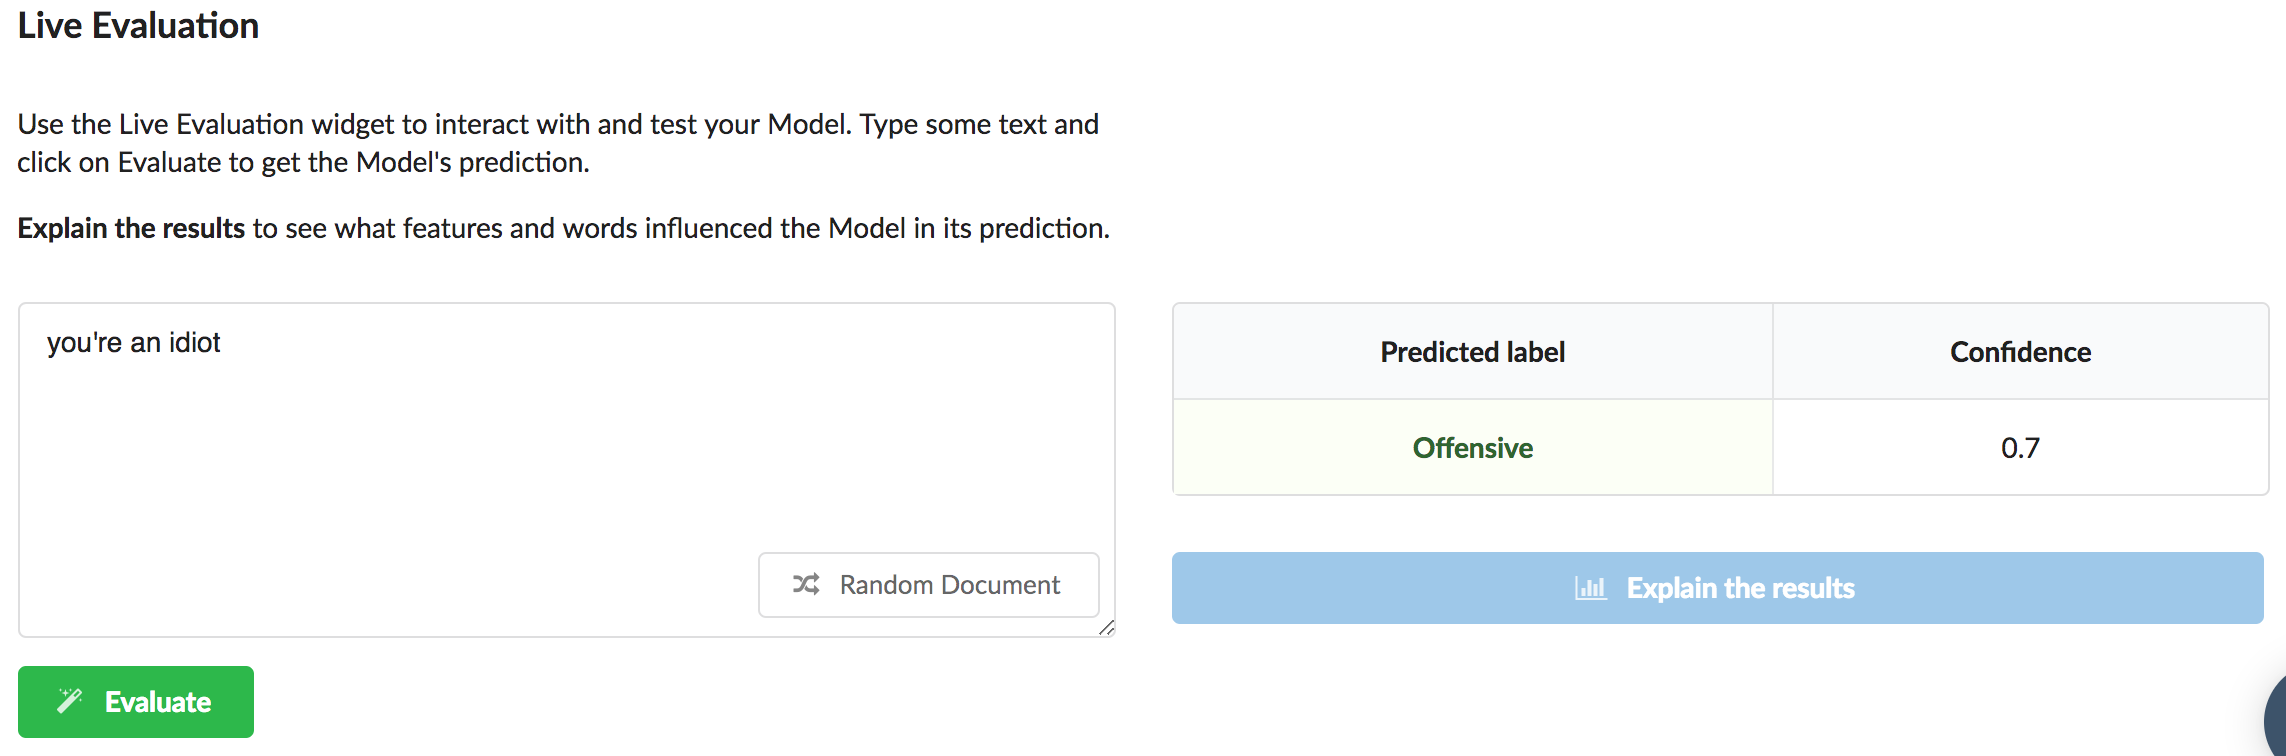
Additionally, we can use Live Evaluation to interact with the newly trained model and get a better sense of how it works:
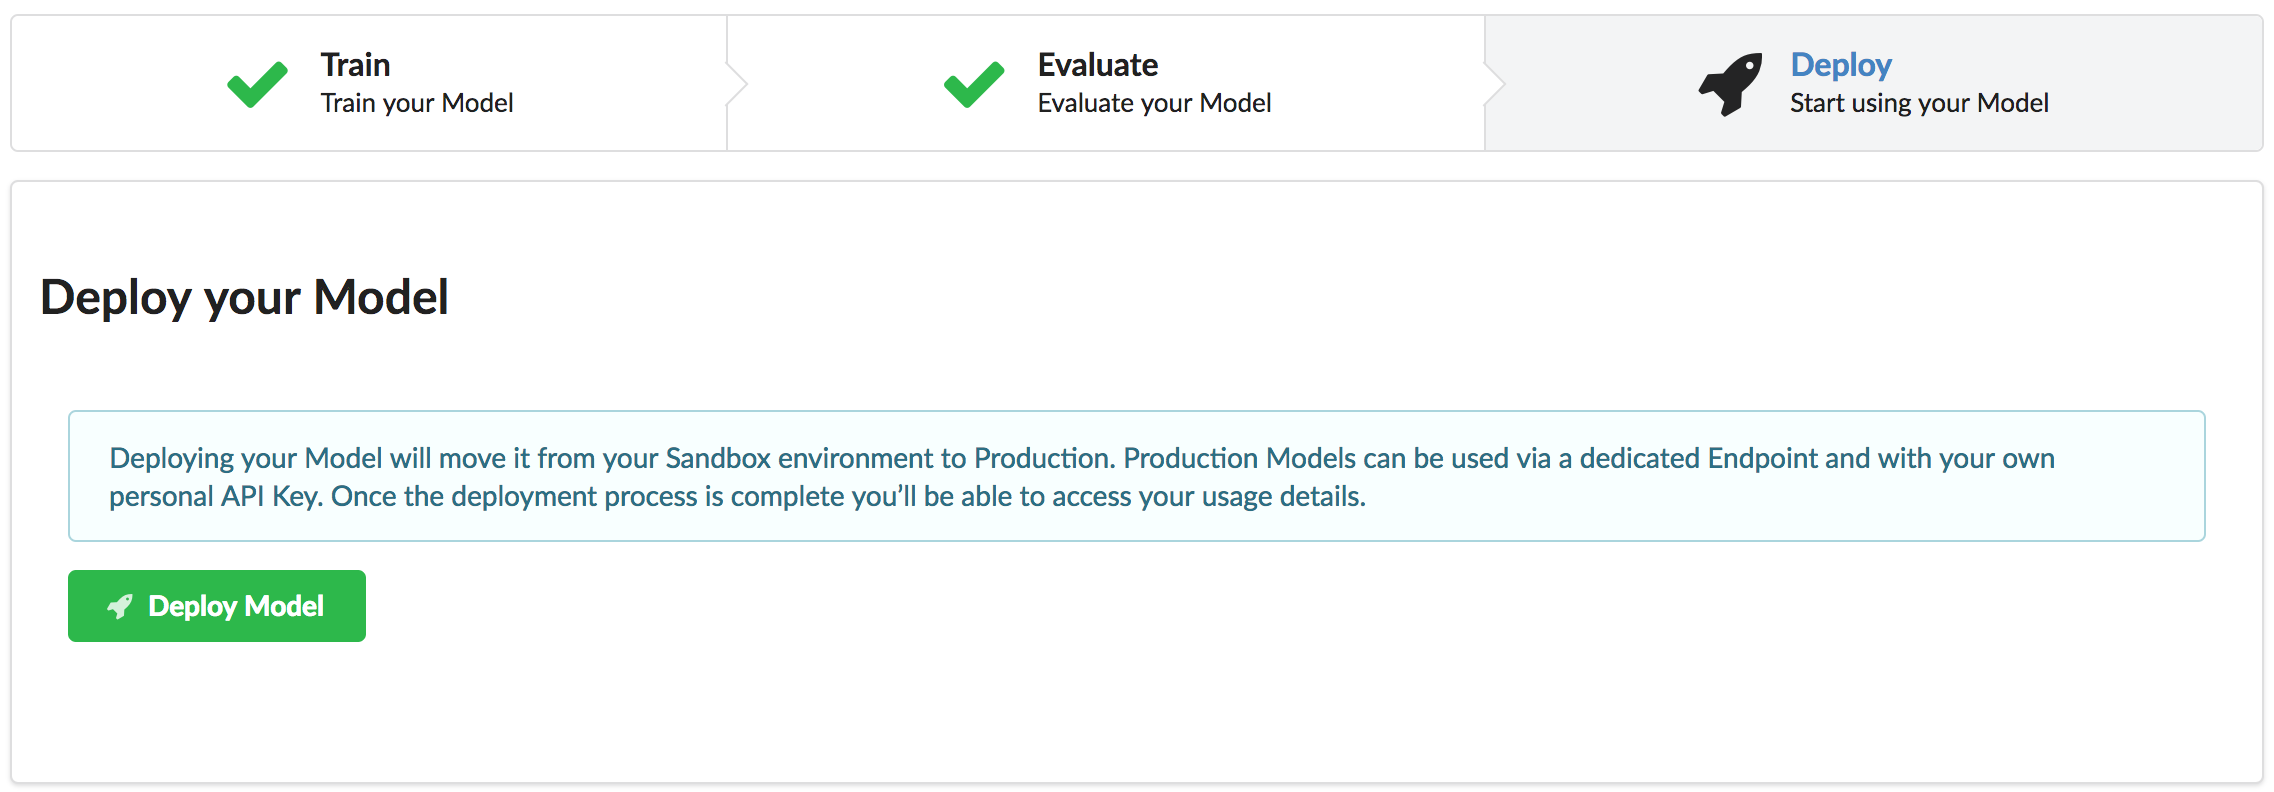
Deploying the model
Now click on the Deploy tab and then click on Deploy Model:
Once the deployment process is finished, you will be provided with the details for the API: 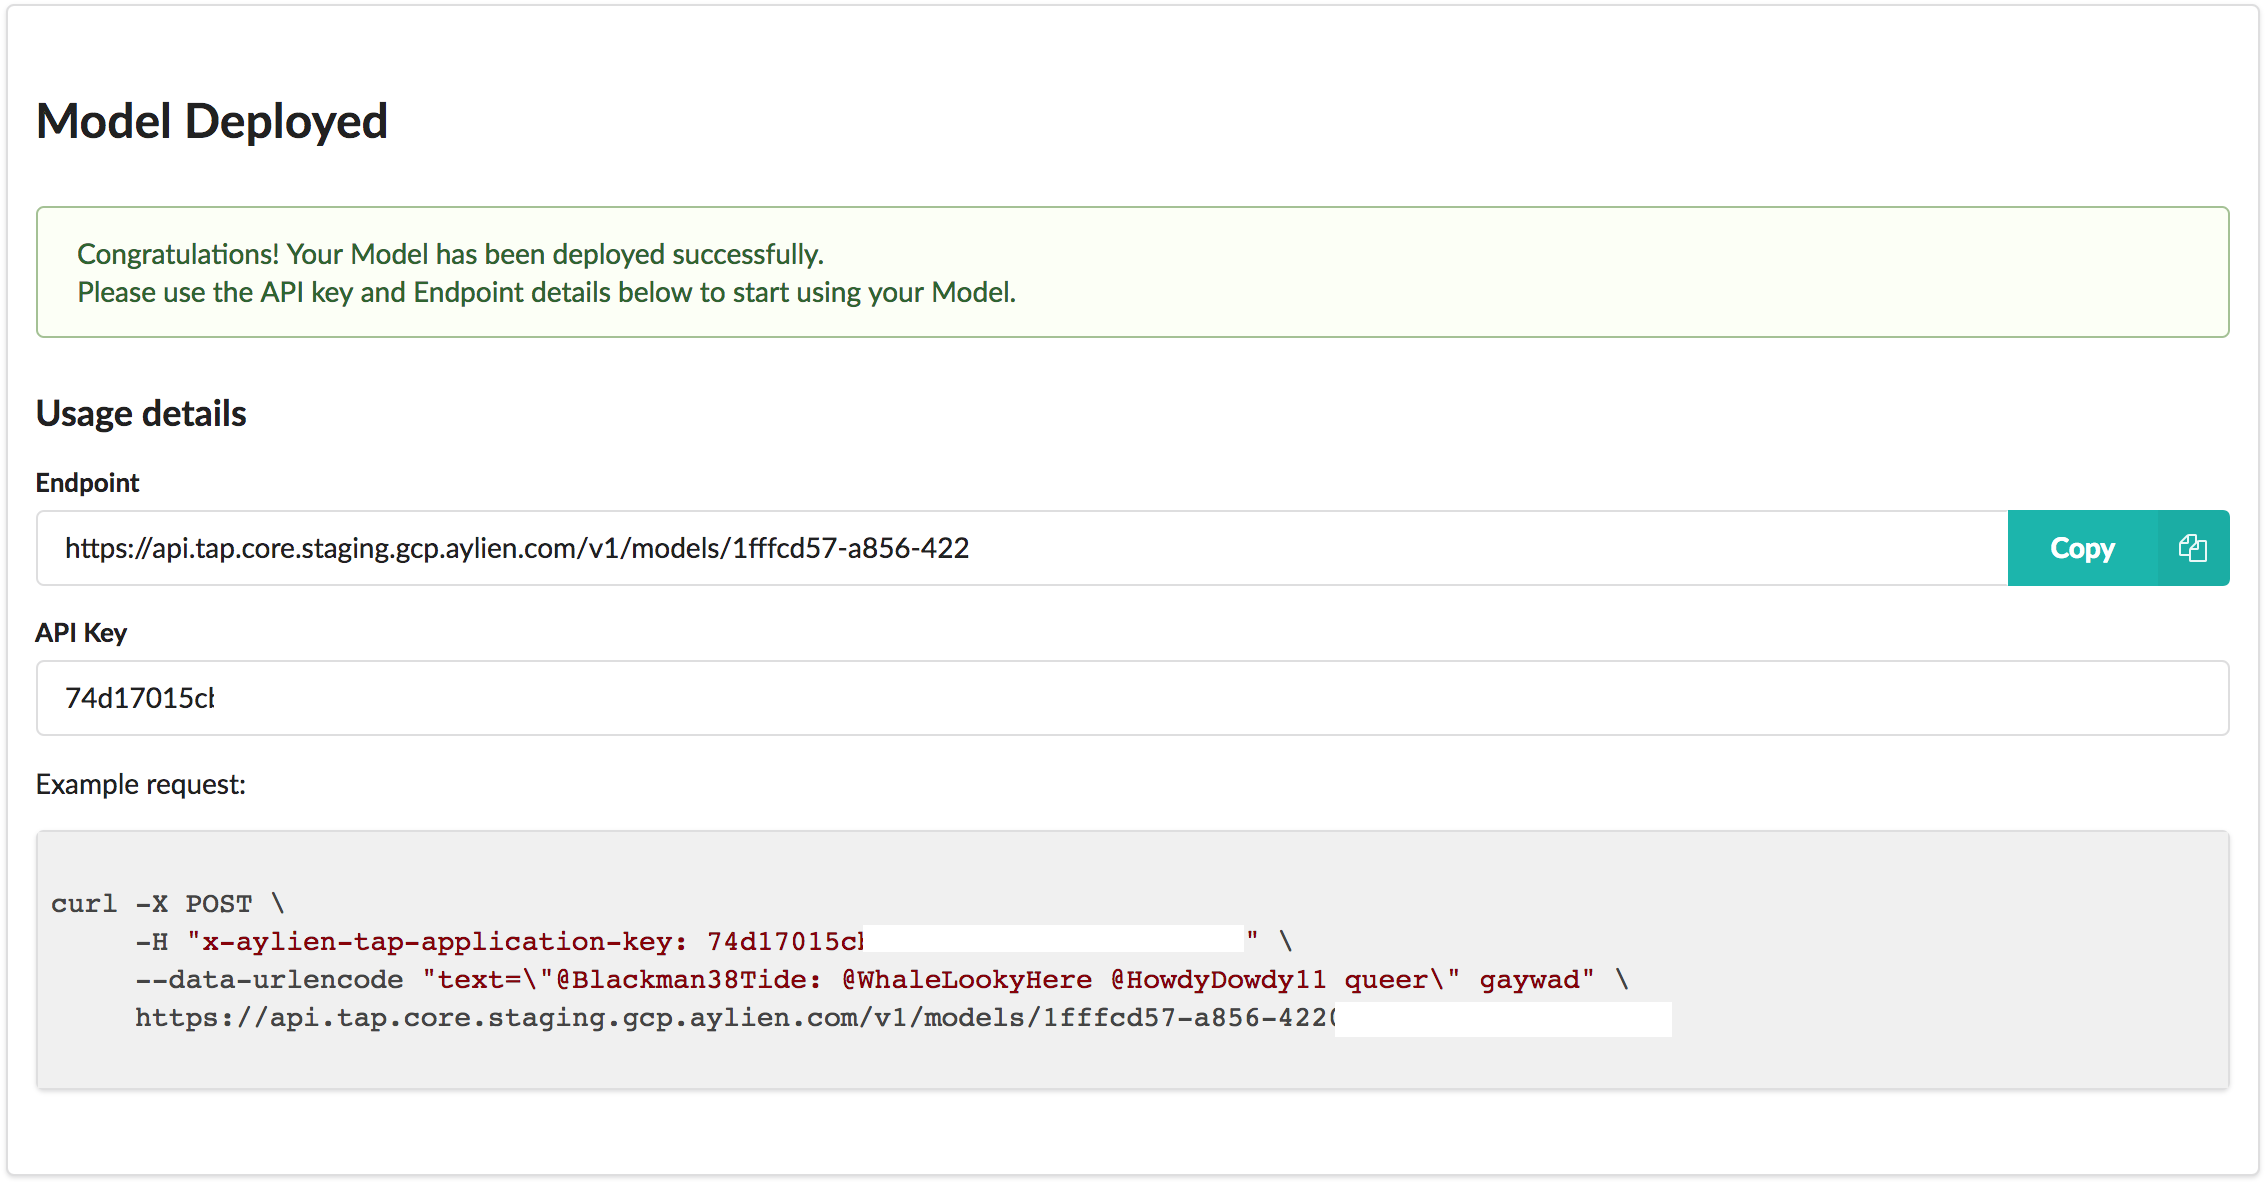
We have now trained an offensive speech detection model that we can access from AWS Lambda. Now let's build the pipeline for retrieving and processing incoming Intercom messages.
Step 2. Monitoring and processing incoming Intercom messages
Now that we have built our offensive speech detection model, we need a way to run each incoming message on Intercom through the model to determine whether it’s offensive or not, and respond with a funny meme if it is. We will use Intercom's handy webhooks capability to achieve this. Webhooks act as web-wide callback functions, allowing one web service to notify another upon an event, by emitting a HTTP request each time that event occurs. To make this work, we need to point Intercom to a web service that it can ping upon every new message that is posted on Intercom. You can implement the web service in pretty much any programming language and host it somewhere on the internet. Given that our web service in this case is fairly minimal and light, we're going to use AWS Lambda which makes it very easy to build, host and expose small microservices such as this one without managing any backend infrastructure. The overall workflow is as follows:
- User submits a message on Intercom
- Intercom notifies our AWS Lambda web service by sending a webhook
- Our Lambda service analyzes the incoming message using TAP, and if it's deemed to be offensive, sends back a random funny meme to the Intercom chat (courtesy of Giphy!)
Building the AWS Lambda microservice
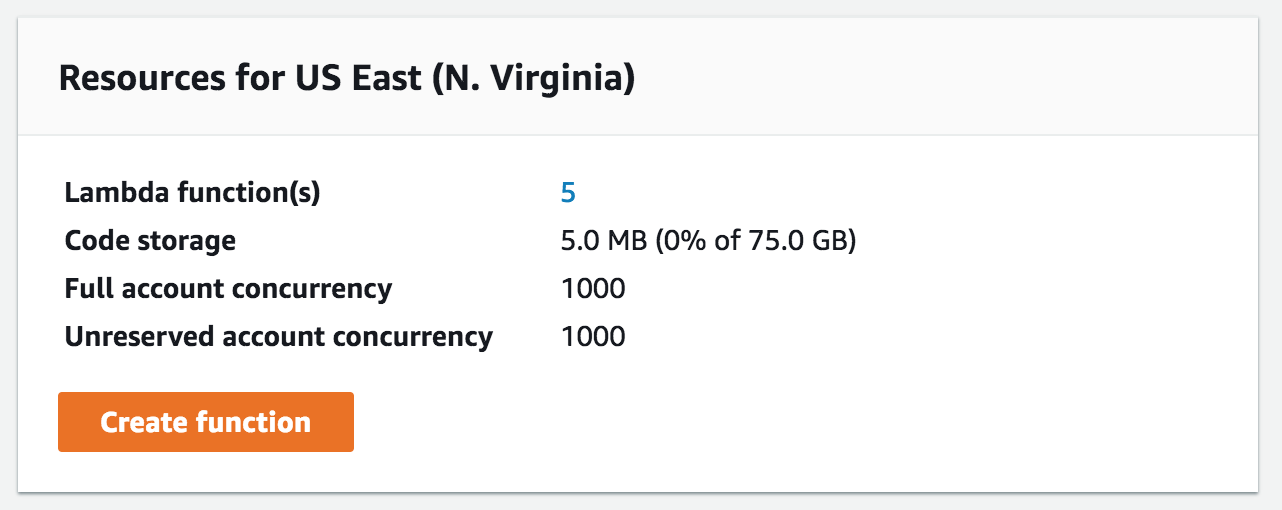
To recap from above, we need to build a service that is accessible as an API for Intercom's webhook to hit and notify us about new messages. Luckily, Lambda makes building services like this extremely easy. Navigate to AWS Lambda's dashboard and hit Create function or click here to create a new Lambda function.
In the Create function form, choose the "Author from scratch" option to build your function from scratch: 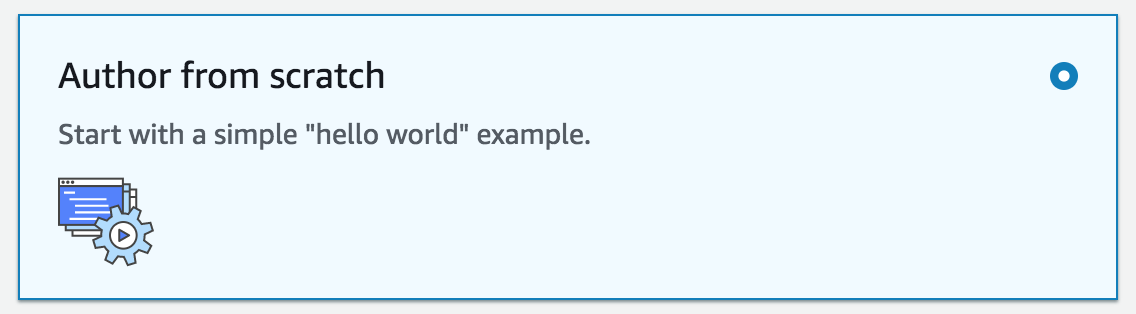
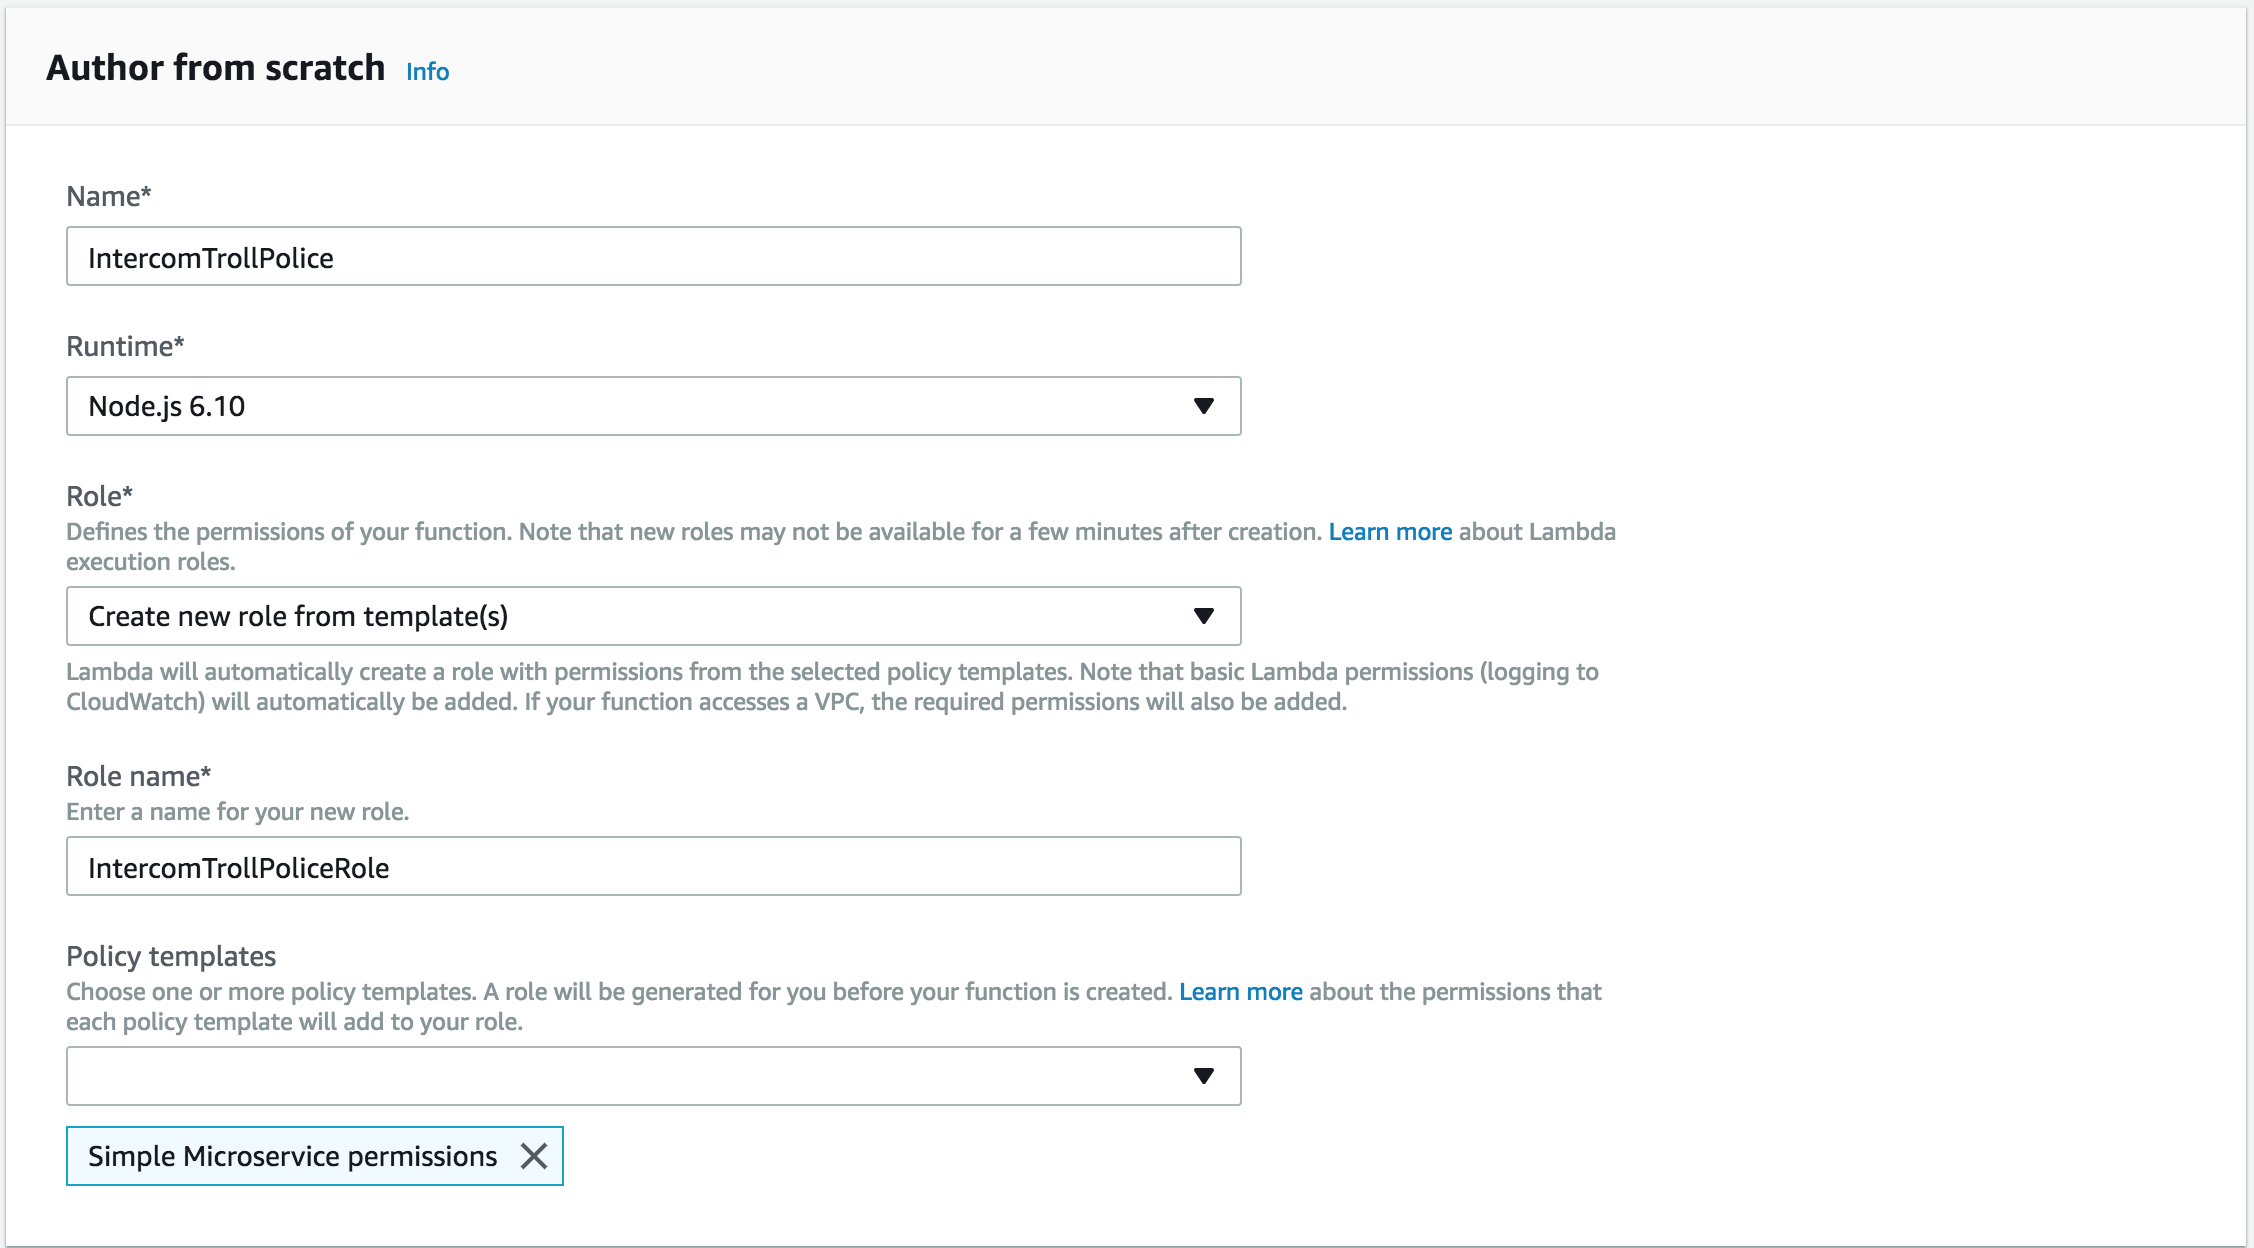
Next, enter a name and create a new role for the function. We're going to use Node.js for implementing the service in this instance, but you can choose from any of the available Runtimes:
Now that our function is created, we need to implement the logic for our service. Replace the contents of index.js with the following script:
Be sure to replace the four placeholders with real values:
- You can retrieve your TAP_MODEL_ID and TAP_API_KEY from the Deploy screen in TAP
- You can retrieve your INTERCOM_ACCESS_TOKEN by going to Authorization > Access token
- Finally, you can retrieve your INTERCOM_ADMIN_ID either from the webhook payload (it’s located in data.item.conversation_message.author.id–see Step 3) or by calling the List Admins endpoint in the Intercom API
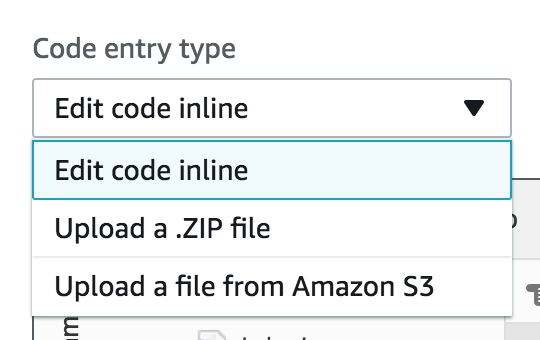
Note that we must provide the two packages required by our script, "request-promise" and "striptags", in a node_modules folder. Lambda allows us to upload a ZIP bundle that contains the scripts and their dependencies using the dropdown on the top left corner of the code editor view:
You can download the entire ZIP bundle including the dependencies from here. Simply upload this as a ZIP bundle in Lambda, and you should have both the script and its dependencies ready to go. To create your own ZIP bundle you can create a new folder on your computer, put index.js there and install the two packages using npm, then zip the entire folder and upload it. Finally, we need to expose this Lambda function as an API that is accessible by Intercom for sending a webhook. We can achieve this in Lambda using API Gateway. Let's add a new trigger of type "API Gateway" to our Lambda function:
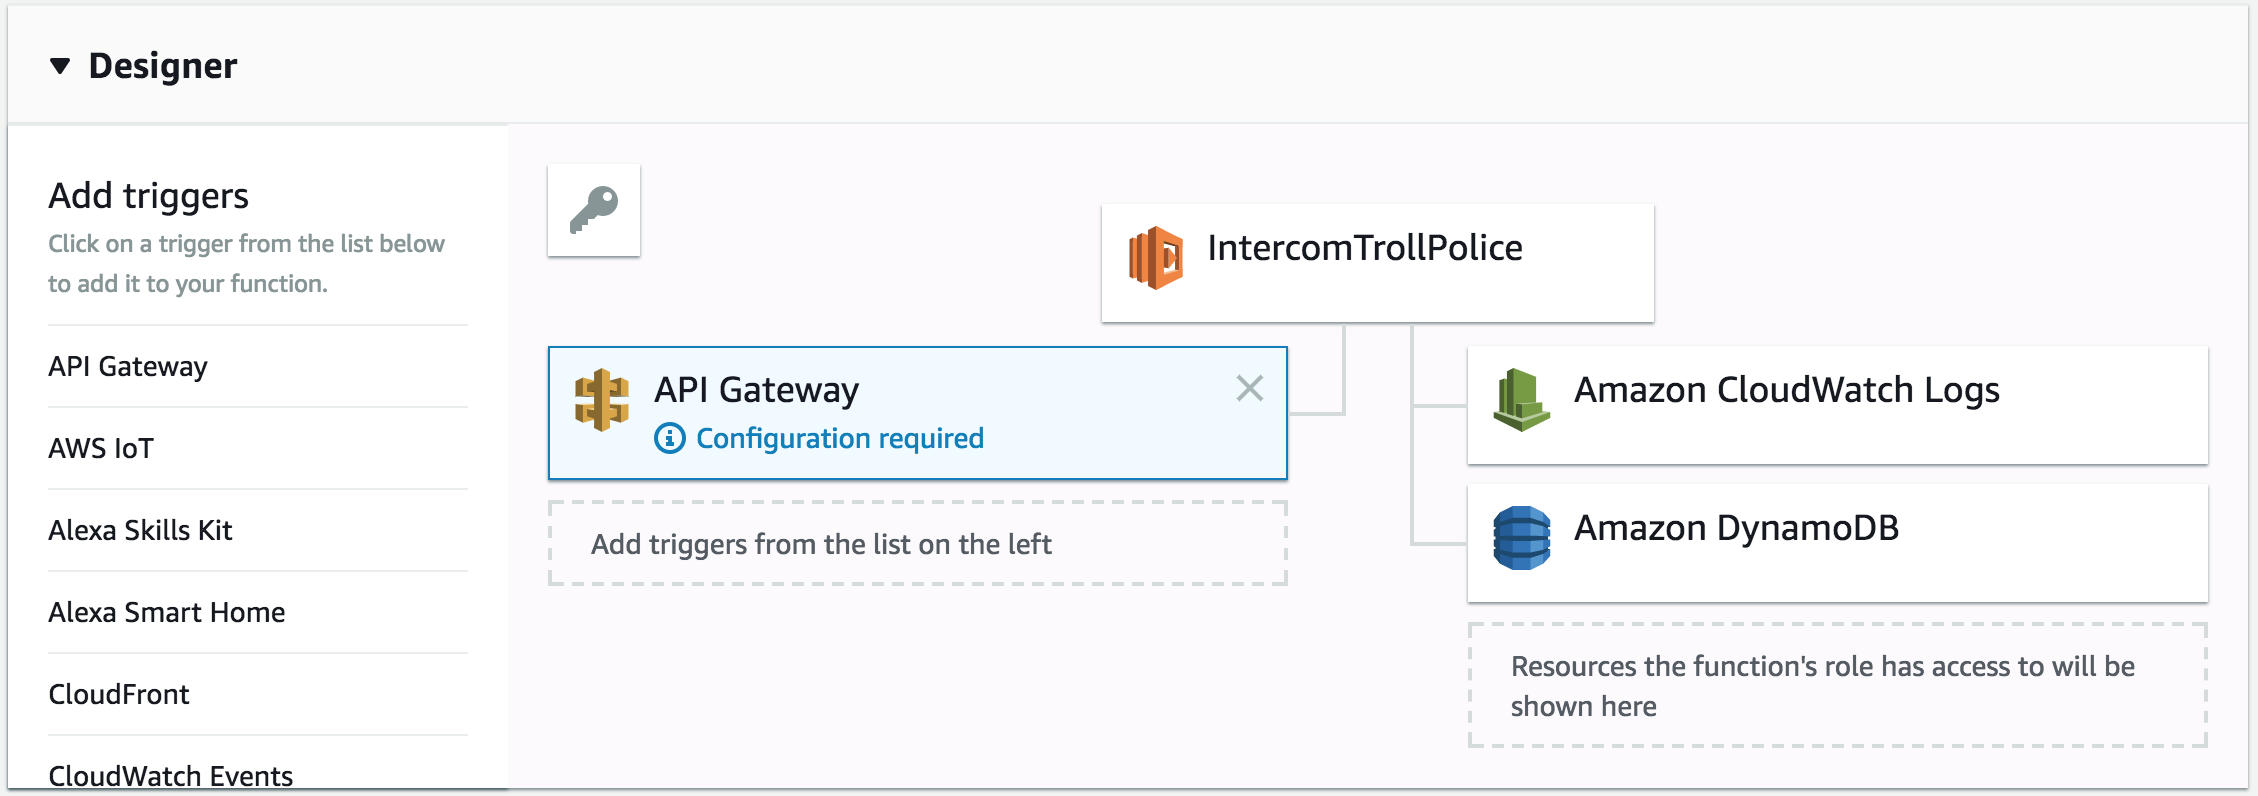
You will notice that the API Gateway must be configured. Let's click on it to view and set the configuration parameters:
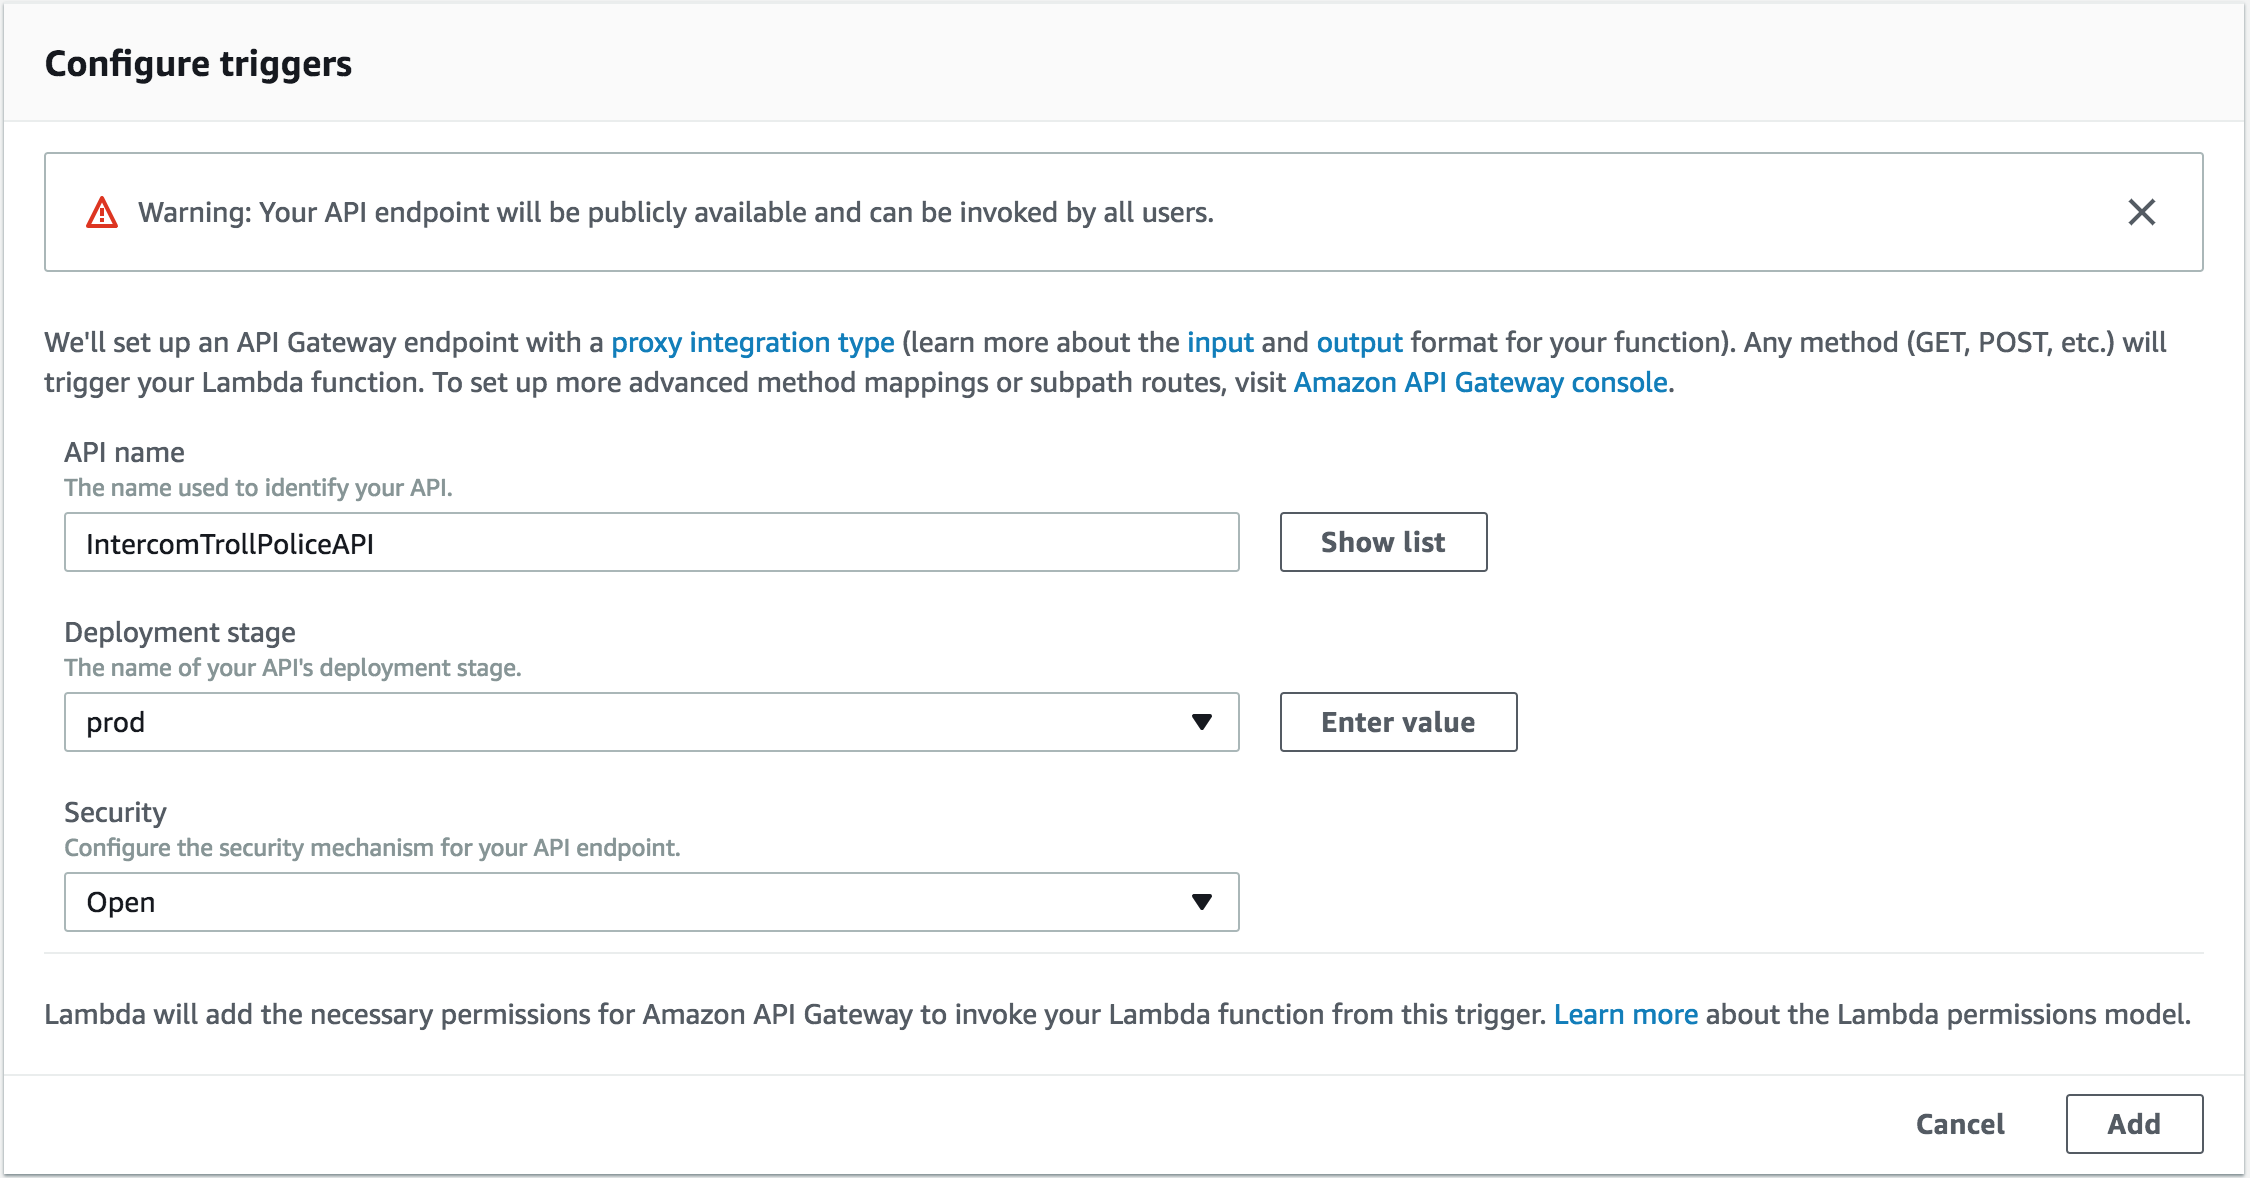
Note that for simplicity we have set the Security policy to open, which means the API gateway is openly accessible by anyone that knows the URI. For a production application you will most likely need to secure this endpoint, for example by choosing Open with access key which will require an API key for sending requests to the service. Make sure you hit the Save button at the top right corner after each change:

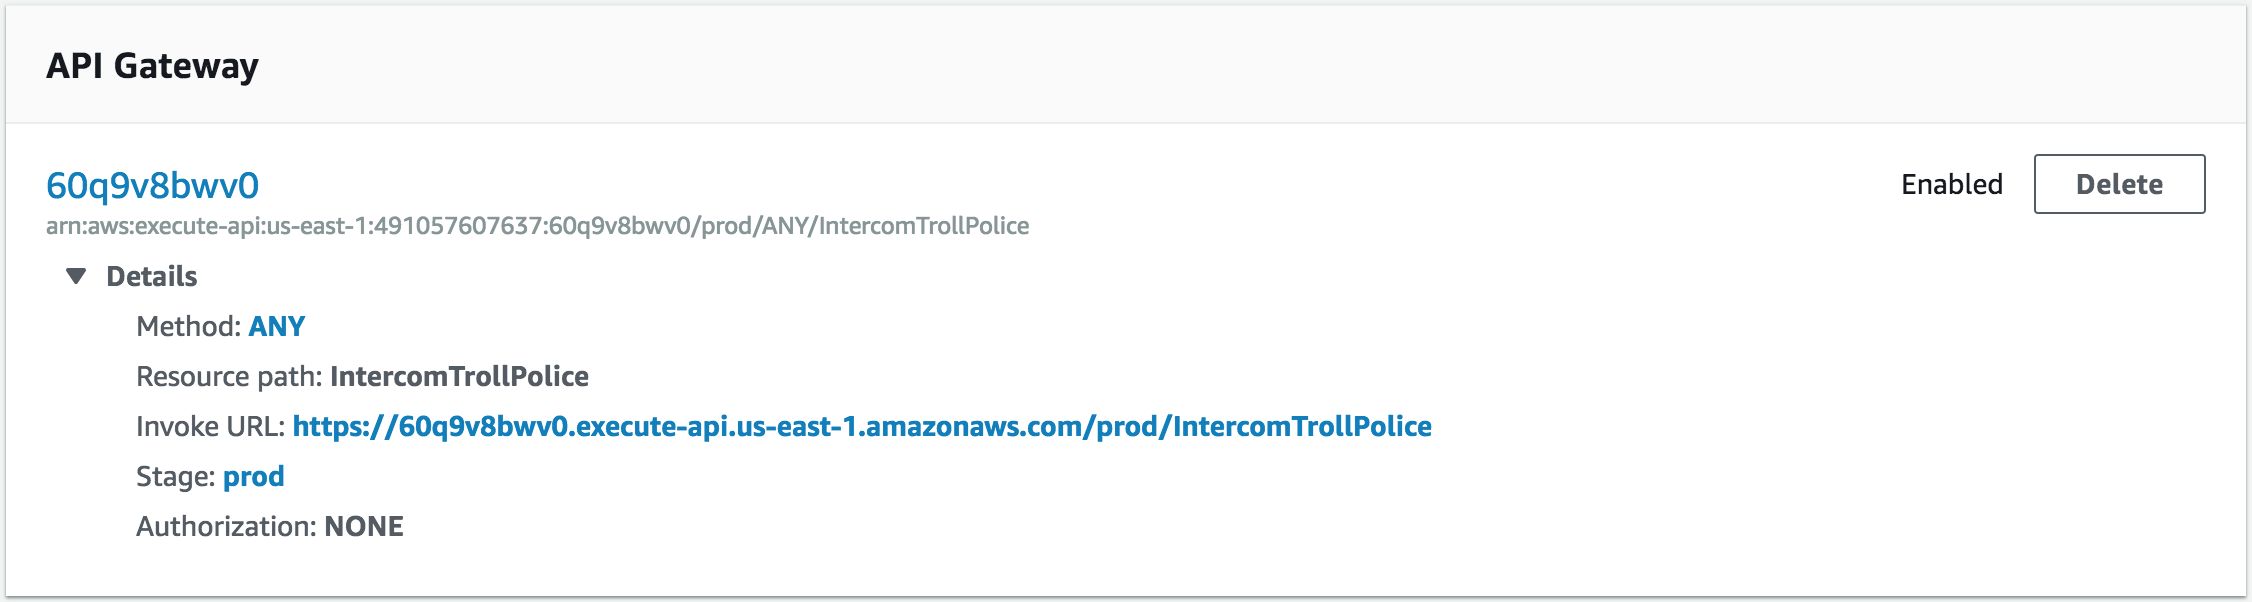
Now that we have our API gateway created and configured, we need to retrieve its endpoint URI and provide it to the Intercom webhook. Copy the "Invoke URL" value from the API Gateway section in the Lambda function view:
Creating the Intercom webhook
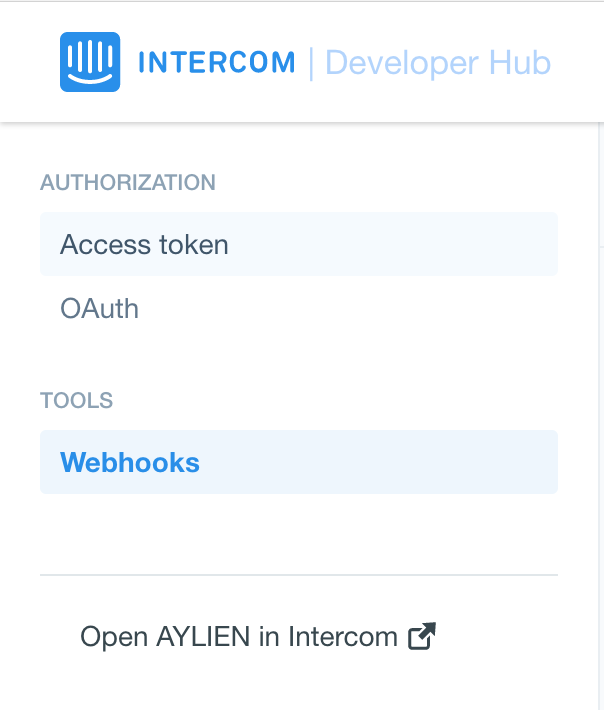
Our Lambda microservice is created and exposed as an API. The next step is to instruct Intercom to hit the web service for every new message by sending a webhook. In order to do this, head to the Intercom Developer Hub located here. From your dashboard navigate to Webhooks:
Then click on Create webhook in the top right corner to create a new webhook, and paste the Lambda service's URI from the previous step into the "Webhook URL" field.
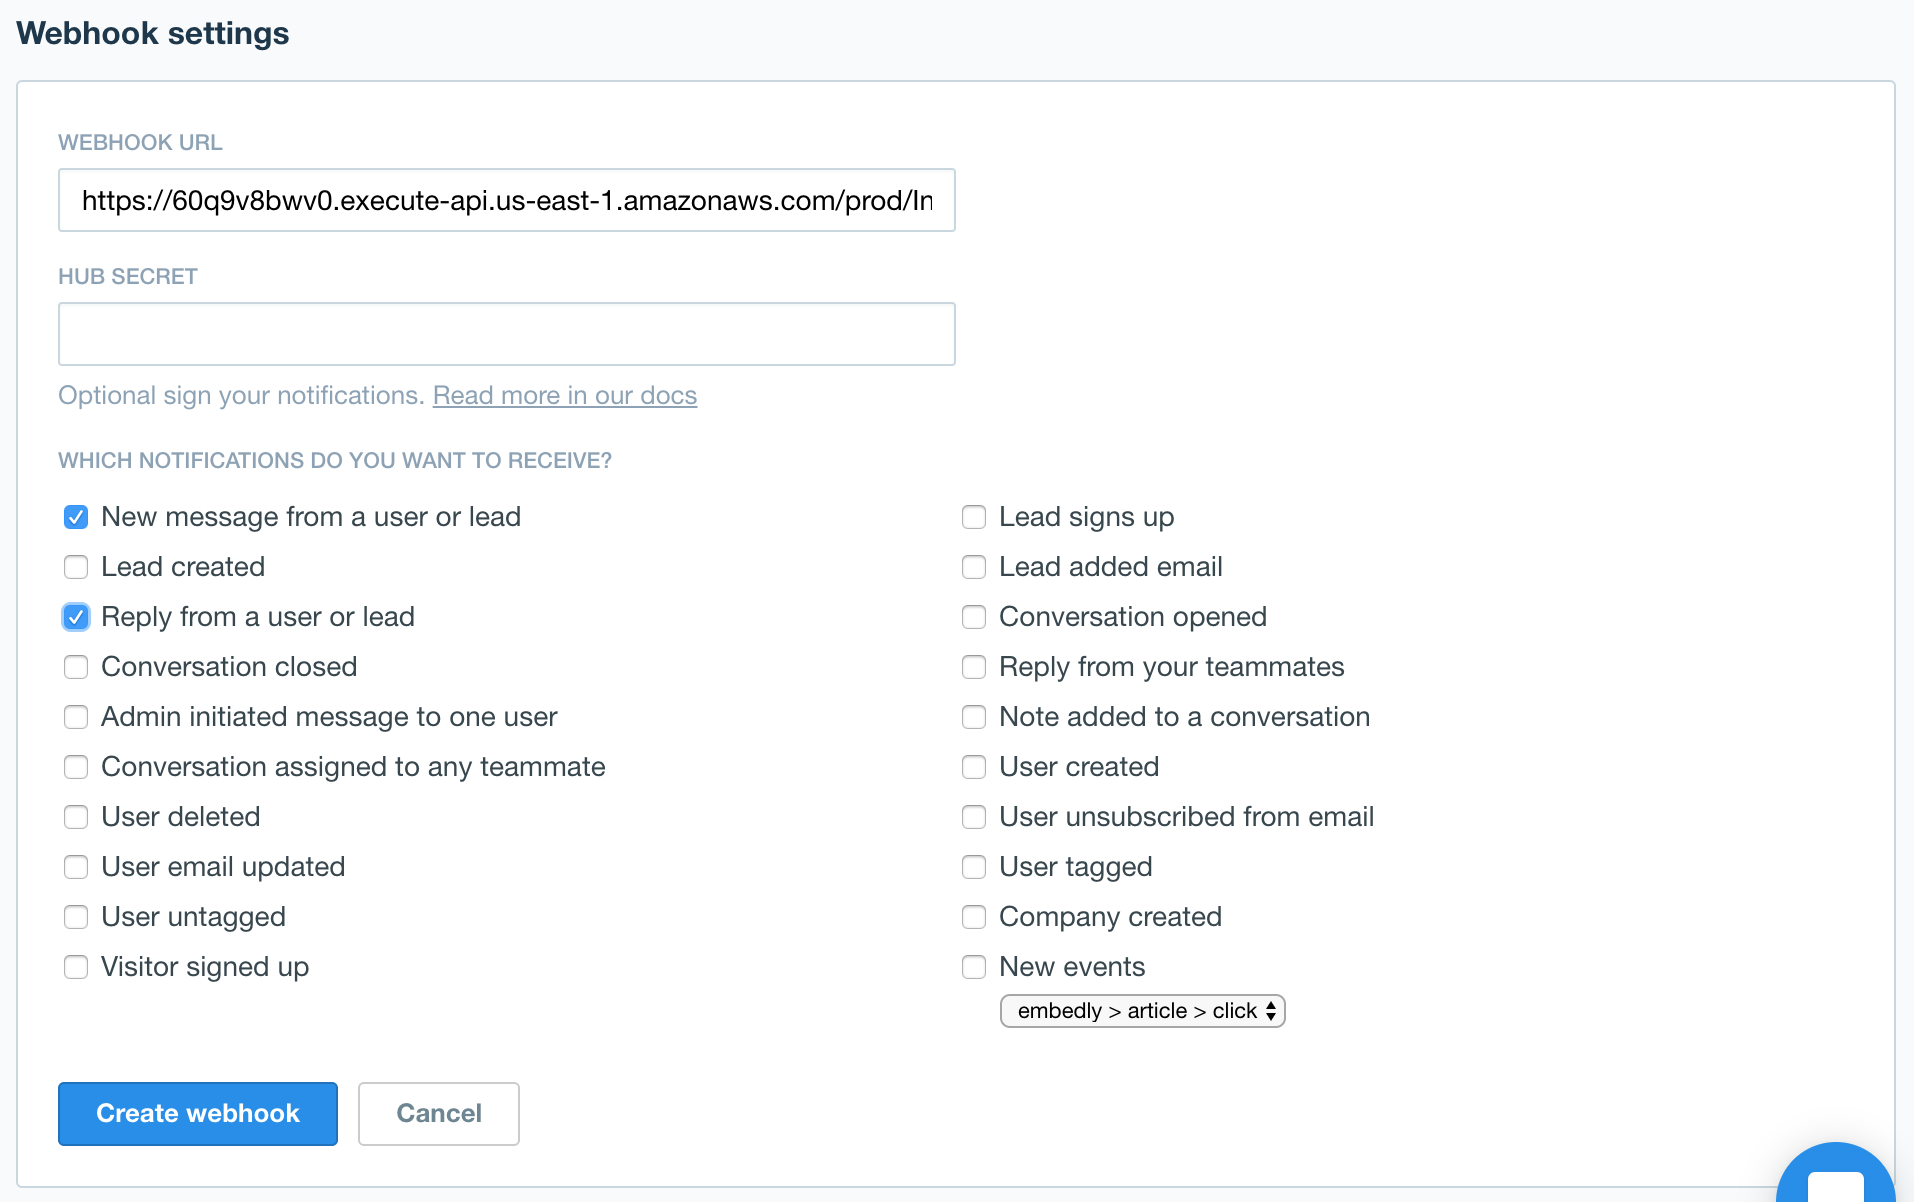
The key events that we would like Intercom to notify our service upon are "New message from a user or lead" and "Reply from a user or lead", both of which indicate a new message from a user has been posted. Please note that for simplicity we are not encrypting the outgoing notifications in this example. In a real-world scenario you will most likely want to leverage this facility, since otherwise the recipient of the webhook will receive all your Intercom messages unencrypted.
Step 3. Connecting the pieces and launching the bot
We have created our AWS Lambda service, and instructed Intercom to ping it every time a new message is posted by a user. Now each time a user posts a message on Intercom, a notification similar to the one below will be sent to our web service:
The Lambda service parses these notifications, invokes TAP to see if they are offensive, and if it finds a message offensive, hits the Intercom API to respond to the offender with a random funny meme. With the webhook being active and the service being exposed and configured, we are ready to test our bot. Head to your Intercom widget and, well, send an offensive message–and be prepared to get busted by the troll bot!
And that's it. We can now sit back, relax, and enjoy roasting trolls! 😊 Note: To stop the bot, all you need to do is disable the webhook from the Intercom developer hub dashboard, to prevent it from invoking the Lambda script. Things to try next:
- Adjust the minimum threshold for the confidence score (currently set to 0.5 in index.js) based on your preferences. A lower value will result in a higher number of meme responses and potentially more false positives, whereas a higher value will only trigger a meme response if the classifier is confident about a message being offensive.
- Download a dump of your previous (non-offensive) messages from Intercom as explained here and add the cleaned up messages to the "Not offensive" label in your TAP dataset and train a new model. This should improve the accuracy of the model and enable it to distinguish offensive and non-offensive messages better.

Related Content
-
 General
16 Feb, 2024
Why AI-powered news data is a crucial component for GRC platforms

Ross Hamer
4 Min Read
-
General
24 Oct, 2023
Introducing Quantexa News Intelligence
Ross Hamer
5 Min Read
-
 Product
15 Mar, 2023
Introducing an even better Quantexa News Intelligence app experience
Ross Hamer
4 Min Read
Stay Informed
From time to time, we would like to contact you about our products and services via email.